 Welcome to the Muppet Central Forum!
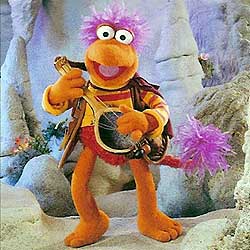 Back to the Rock Season 2
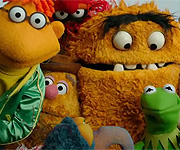
 Sesame Street Season 54
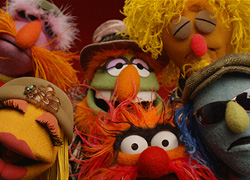 The Muppets Mayhem premieres
 Bear arrives on Disney+
 Sam and Friends Book
- Joined
- Jul 12, 2002
- Messages
- 31,236
- Reaction score
- 2,919
Development: You guys here at Muppet Central asked me to explain the origins and purpose of my Muppet Party video game, so I'll try my best to lay it out in an orderly fashion.
1 Sesame Street computer/video games were simplistic to the point that there wasn't any real excitement in their gameplay. These included Astro Grover; teaching basic math with adding and subtracting aliens, Ernie's Magic Show; where you made designs from simple shapes, Sesame Street A B C; which used a Ferris wheel to build three-letter words, and the Count's Countdown; with a spinning number roulette selector that decided what number you'd chase down different environments. On the other hand, Muppet games were much better like Carnival of Chaos and the recent Muppet Racemania. I wanted to create an action game for the entire Muppet family, but what should be the game's plot?
2 The Count Counts a Party! from the Sesame Street Book Club was a prime source for my master idea; but for the life of me, I couldn't remember any of the particular details of the story. Volume 9 of the Sesame Street Library which presented a short one-page story about the Count's birthday where different Sesame characters came bearing small marble numbers as gifts was another source of inspiration. For example: Bert brought a small marble 1 and Ernie a small marble 2. Now I knew that the game's main plot should be a mass party at the Count's castle with marble numbers as gifts brought by all the guests. But how should I proceed with the storyline?
3 Considering that I started my master Muppet listing at less than a third of its current totals upon Sesame's 30th anniversary and the fact that the party would take place in Transylvania, I created the following scenario. Imagine if you will, all the members of the Muppet family coming to the Count's castle to celebrate his anniversary birthday with the aforementioned number gifts. Upon placing the numbers around the cake and lighting the candles, a grand smoky ghostly demon appeared and started to claim both the castle and the numbers by flooding the land with smaller ghostly minions. Each ghostly minion seized a different number and room/area, and it's up to the Muppet family to reclaim their friend's home. Starting out from the main living room, which serves as their headquarters, they must use the birthday candles as standard-issue flaregun weapons to dispatch the ghosts and other dangers lurking in the hallways.
4 Here's where all the wonderful MC members come in. Head over to my "Muppet Listing 3.0" thread in the Classic Muppets section. You can see that I'd be immensely overwhelmed creating a level for each character listed solely on my own. Look at the level designs that are already cast and invent a new level following similar guidelines. Pick any character, give it any number you want, place them in a room that mirrors any of the character's qualities, and pit them against a boss ghost who fits the general design of your idea. Include lesser enemies, mid-bosses, traps, attacks for the boss ghost, and some way to maneuver past all these obstacles.
All of your help with this project will be infinitely appreciated!
Sincerely the Count von Count.
